The first step in the process was to make a router template. I managed to use my plans to draw the shape of the body on some leftover plywood from my 1x15 cab:


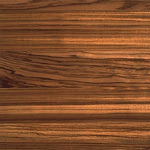
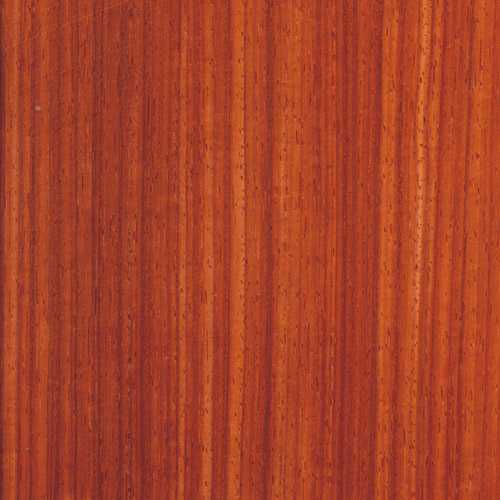
So, I went to my local woodworking shop looking for some exotic wood. I was expecting to pay a good amount- the stuff isn't cheap. As I walk through isle after isle of zebrawood, purple heart, flame walnut... I ran across a HUGE slab of padauk that cost $3.50 a board foot! This was a FANTASTIC deal. To put it in perspective, if you were to go to Lowes or Home Depot or the like, simple pine (the most common wood I can think of) would cost ~$5 a board foot and something like zebrawood would cost ~$20 per board foot. I got away with murder...

As an aside, padauk is pretty toxic if exposed to it for long periods of time. The oils in the wood cause allergic reactions in a lot of people and this only gets worse as you are exposed to it longer.

So I cut the rough shape of the body out with the band saw, then placed the template on top and went to town with the router. This stuff is VERY hard wood. It actually dulled the router bit to the point that it started tearing out the wood grain in certain parts.

This process created a lot of dust. I look like I belly-flopped into pool of cheetos.


Lookin good...
Sadly, I didn't take pictures of the process of routing channels for the pots, pickups, and pick-up selector before I glued the top on. Those are purple heart stripes (and your eyes aren't playing tricks on you, they are definitely crooked).

I have to stop at this point and begin work on the neck.
The easiest way I know of to prevent the neck from warping to take one large piece of wood (let's just say large enough to carve a neck out of), cut it into multiple pieces length-wise, and flip every other piece before you glue it back together. This way, when the wood inevitably warps, it meets resistance with the pieces who's grains are oriented the opposite way. This keeps the neck somewhat stable and you can rely less on the truss-rod.


To show how I created the angle in the headstock, I took step by step pictures. I am feeling lazy, so I'm not going to go into too much detail about how I did it. If you have questions, shoot me an email. I don't mind answering questions!

Step 1: Cut.

Step 2: Move.

Step 3: Glue.
At this point, I started work on the fretboard. Conveniently enough, there was a luthier's ruler with the frets for a 24 3/4'' scale length fretboard laid out on it. I tried to be as accurate as possible in drawing the lines for the frets and cutting them out.

Step 1: Make marks.

Step 2: Draw lines with a square and sharp pencil.

Step 3: Cut channels with a thin, accurate saw and your square.

It's certainly starting to look like a guitar!
The next step was to get the slot for the neck made. I used a drill press with a forstner bit to get most of the wood out of the way, then went to town with a sharp chisel.


Nobody's perfect...
I find it hard to articulate how tiring it is to use a chisel on padauk, so I won't even try to. It was so hard I decided to take a break from the body and begin shaping my neck. This wasn't too bad. With a spoke shave and some hard work I went from:

this

to this.
All in all, the neck-shaping process took about 2 hours. I stopped every couple of minutes to see how it felt in my hand and accounted for the fact that the fretboard will add ~1/8'' to the thickness.
That's all I've done so far. Hopefully I can get back to work on it once I get a job and make some money to support my creative pursuits.

Orange sawdust on all the things.